How Shipping Container Conversions Are Built
Shipping container conversions are more than just modified steel boxes. A professionally built container office requires structural planning, insulation, electrical work, and finish details to make the space comfortable, durable, and functional.
This guide explains how container conversions are built and what separates professional builds from basic or DIY projects.
This article is part of our Container Conversion Resources library
Step 1: Selecting the Container
The build process starts with choosing the right shipping container.
Key considerations include:
Container size (20-foot or 40-foot)
New (one-trip) vs used containers
Overall structural condition
Intended use of the finished space
Container size and condition directly impact both cost and layout flexibility. Many buyers first compare pricing before deciding on a build approach.
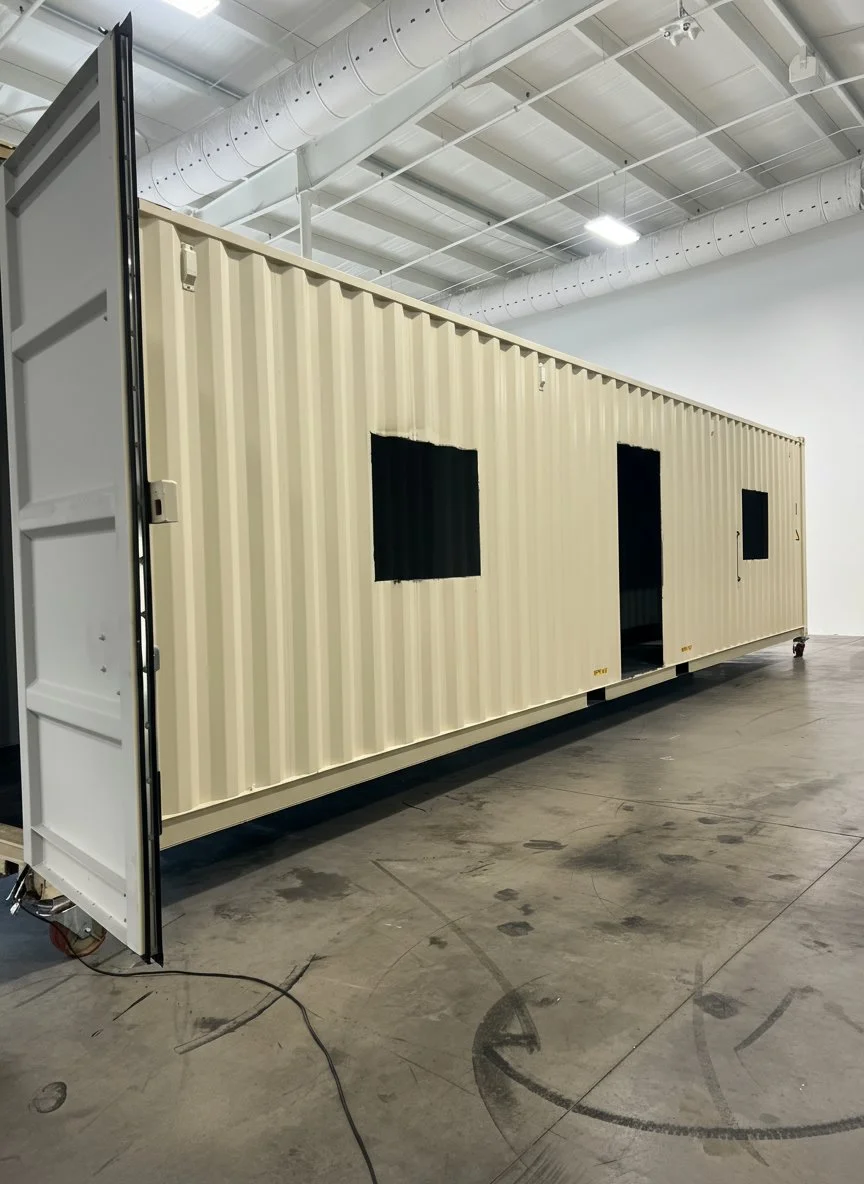
Step 2: Structural Modifications
Once the container is selected, structural modifications are made.
This typically includes:
Cutting openings for doors and windows
Reinforcing cut sections to maintain strength
Framing interior openings where required
Professional reinforcement is critical. Improper cuts can weaken the container and create long-term issues.
Step 3: Insulation and Moisture Control
Insulation is one of the most important steps in a container conversion.
Professional builds typically use:
Closed-cell spray foam
Rigid board insulation
Hybrid insulation systems
Proper insulation:
Controls interior temperature
Prevents condensation
Improves energy efficiency
Makes HVAC systems more effective
Poor insulation is one of the biggest weaknesses in low-quality builds.
Step 4: Electrical and HVAC Installation
Electrical and climate control systems are installed after insulation planning.
This phase often includes:
Electrical panels and wiring
Interior lighting
Outlets and data connections
Mini-split HVAC systems
Electrical capacity and HVAC requirements vary depending on how the container office will be used.
Shipping Container Office Uses
Step 5: Interior Finishing
Once the core systems are installed, the interior is finished.
Interior finishes may include:
Wall panels or drywall
Flooring
Trim and fixtures
Built-in desks or storage
Finish level plays a major role in overall cost and appearance.
Step 6: Exterior Finishing
Exterior finishing protects the container and improves appearance.
This may include:
Surface preparation
Protective coatings or paint
Exterior lighting
Entry steps or landing areas
Exterior finishes can be designed to blend into residential or commercial environments.
Quality Control and Final Inspection
Before delivery, professionally built container conversions go through:
Electrical testing
HVAC testing
Door and window sealing checks
General quality inspection
This ensures the unit is ready for use upon delivery.
Professional Build vs DIY Conversion
Some buyers consider DIY container conversions, but there are important differences.
Professional Builds
Structural integrity maintained
Proper insulation and moisture control
Code-ready electrical and HVAC
Predictable cost and timeline
DIY Builds
Lower upfront cost (sometimes)
Higher risk of mistakes
Inconsistent comfort and durability
Potential long-term repair costs
Buyers often compare container offices to sheds when weighing professional vs DIY options.
How the Build Process Affects Cost
Each step in the build process impacts overall price:
Container size
Insulation quality
Electrical and HVAC complexity
Finish level
Understanding the build process helps explain why container conversion prices vary so widely.
Choosing the Right Container Conversion
The right container conversion depends on:
Intended use
Budget
Timeline
Desired finish level
Exploring available models can help match your needs with the right configuration.